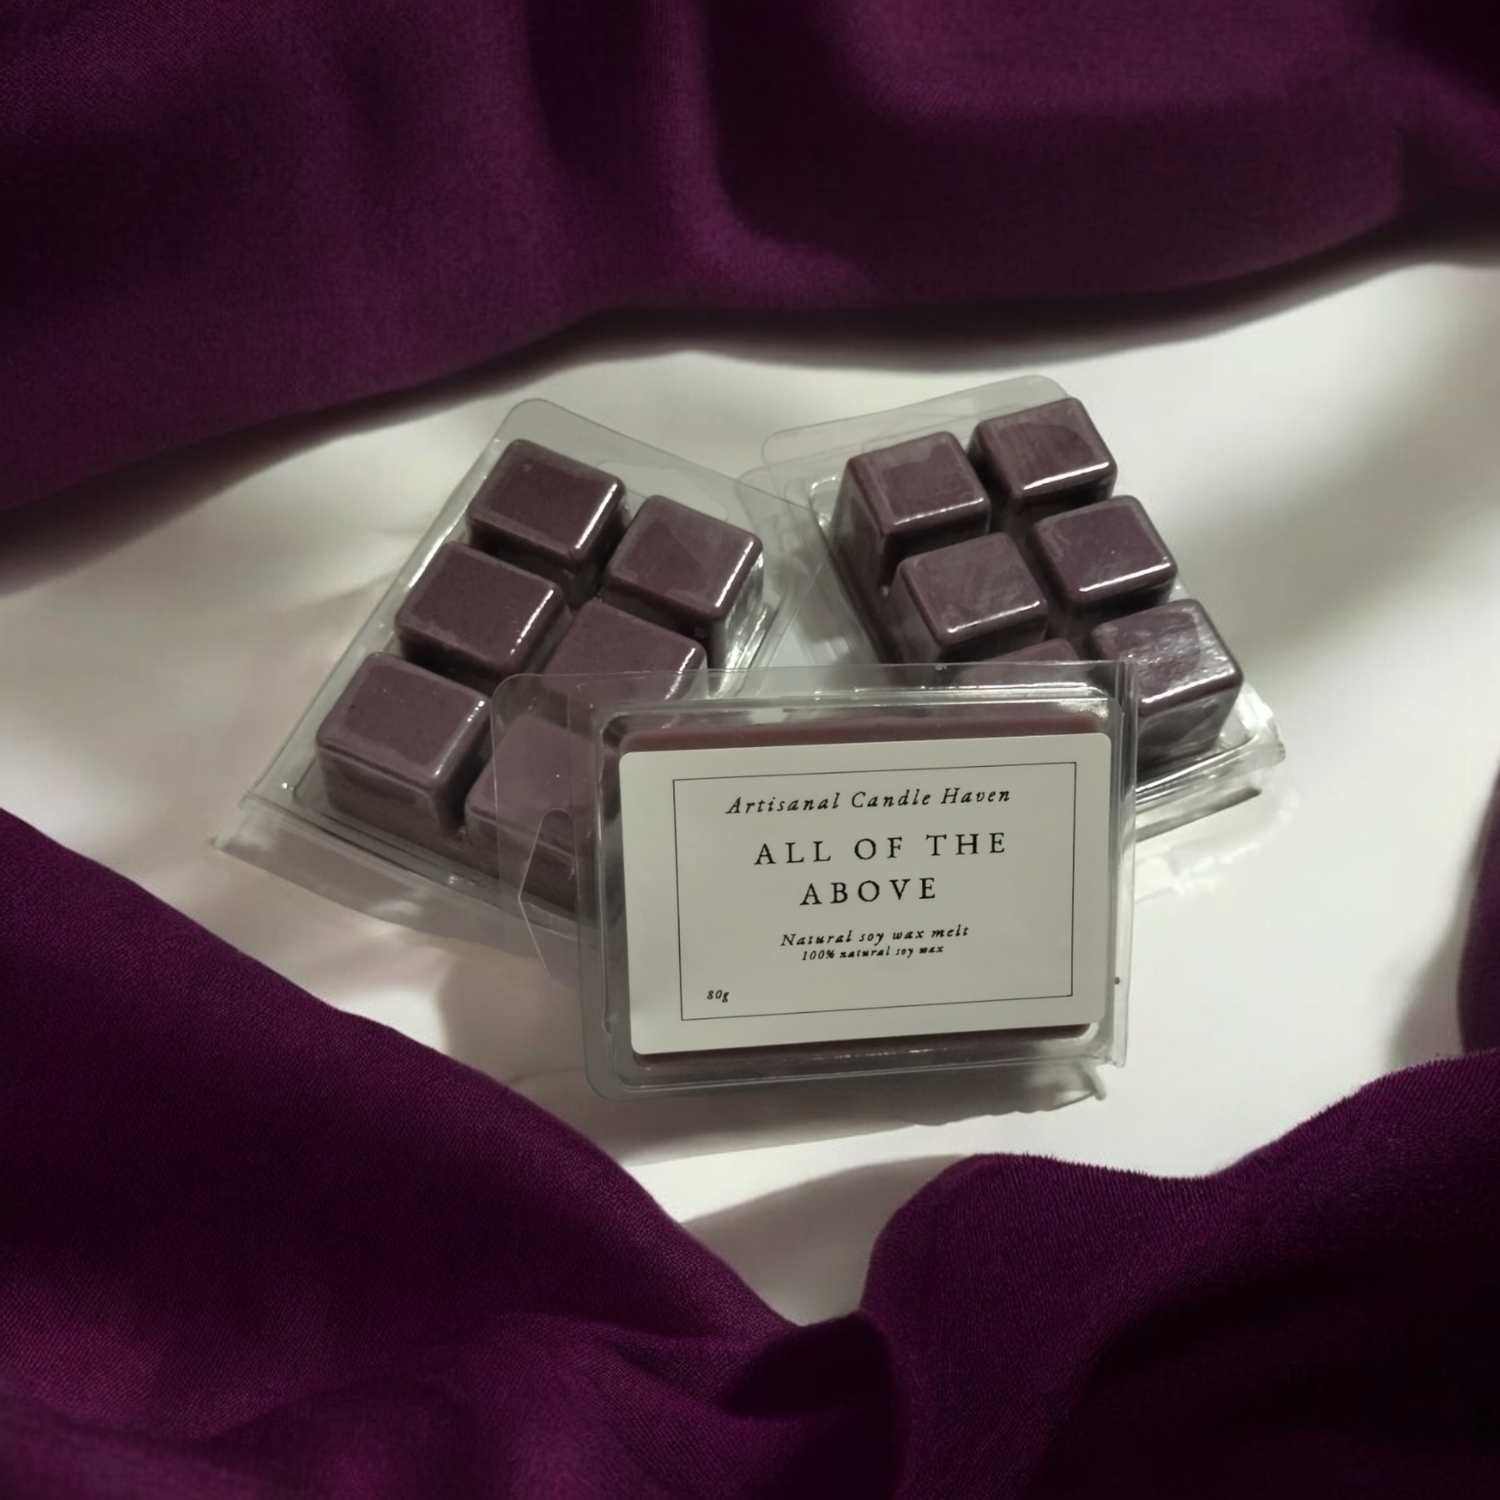
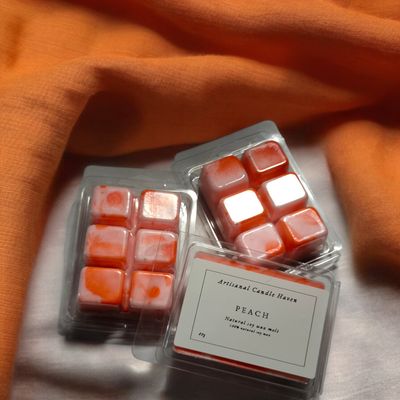
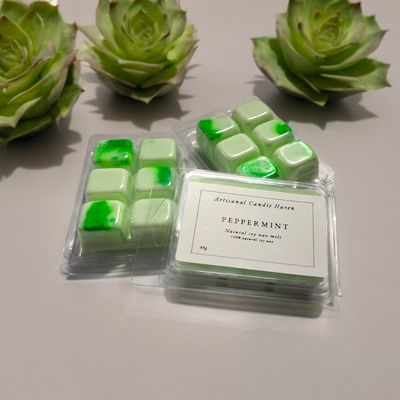
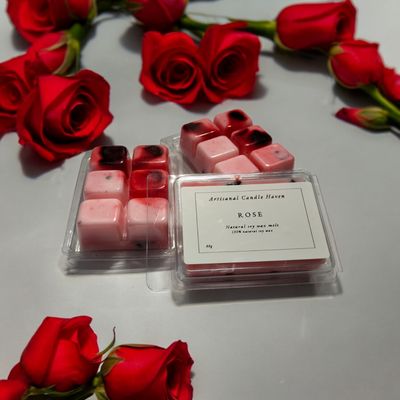
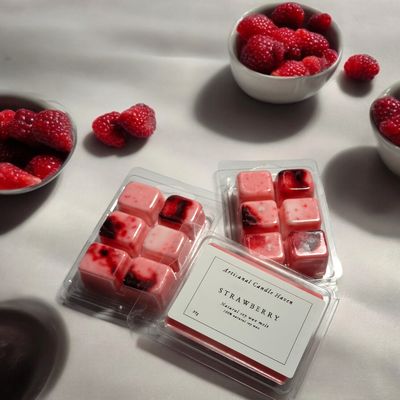
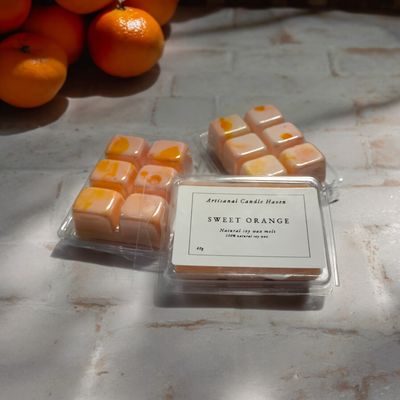
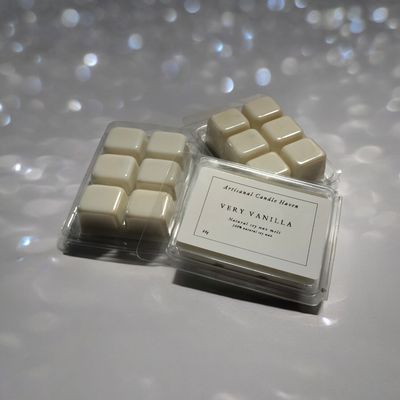
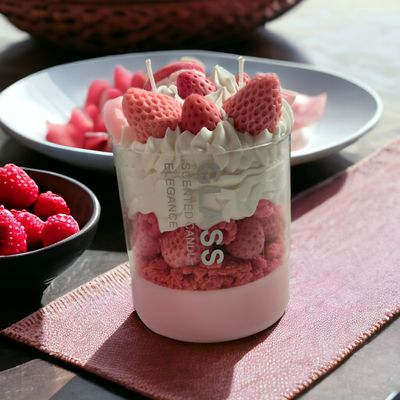
ALL OF THE ABOVE wax melt (limited edition)
Handmade in Ukraine
A limited edition wax melt made from different kinds of soy wax scraps from different candles and so it has a mystery scent
Here are the steps to melt wax melts safely:
1. **Choose the Right Warmer:**
- Use an electric wax warmer or a tea light wax warmer designed specifically for wax melts.
2. **Preparation:**
- Place your warmer on a flat, heat-resistant surface, away from flammable objects and out of reach of children and pets.
3. **Add the Wax Melt:**
- Break a piece of the wax melt if it is in a large block and place it in the warmer's dish. Do not overfill; one or two pieces are usually sufficient.
4. **Heating:**
- If using an electric warmer, plug it in and turn it on.
- If using a tea light warmer, place an unscented tea light candle underneath and light it.
5. **Melting:**
- Allow the wax melt to slowly melt and release its fragrance. This may take a few minutes.
6. **Enjoy the Fragrance:**
- Once melted, the wax will continue to release fragrance until it fully evaporates or loses its scent.
7. **Turning Off:**
- For an electric warmer, turn it off when you are done.
- For a tea light warmer, allow the tea light to burn out on its own or extinguish it carefully.
8. **Replacing the Wax:**
- When the fragrance is no longer noticeable, turn off the warmer and allow the wax to cool and solidify.
- Remove the old wax by gently pushing it out of the dish or warming it slightly to loosen it.
9. **Cleaning the Warmer:**
- Wipe the dish with a paper towel or cloth to remove any residual wax before adding new wax melts.
10. **Safety Tips:**
- Never leave a lit tea light or an electric warmer unattended.
- Keep the warmer away from drafts and vibrations.
- Use only wax melts intended for use in warmers.
- Do not add water or other substances to the wax melt.
By following these steps, you can safely enjoy the pleasant aromas of wax melts in your home.
